Showing posts with label Stamping. Show all posts
Sympathy Card for a Friend
This card was originally from a class I took at the Creating Keepsakes Convention in Charlotte, NC last month. It was part of a Heartfelt Creations class. We completed one 12 x 12 layout in class using Spellbinders and stamps, as well as learning to make templates to use with nestie stamps. All of that being said, I finally dug out the class kit and decided to make the card.
I had to shape the flowers and assemble the card. I also had to add a sentiment to the nesties label on the front.
I forgot to take a photo but I added a white rectangle and stamped a very pretty sympathy sentiment on the inside of the card. I know that this card probably was not designed to be a sympathy card, but I have a friend who recently lost her husband to cancer and I thought she would appreciate a pretty card. She is the sweetest woman and hate that she is going through this.
Now that I have depressed you, remember that as part of the BBTB2 monthly blog hop I have BLOG CANDY up for grabs below. Just be a blog follower and leave a comment under MONDAY'S BLOG HOP post. I will be drawing a random winner on Friday.
Labels:
Nestabilities,
Stamping,
Sympathy
Playing with Stamps, Embossing Powders & Shrink Film
My Cricut had a HUGE work out on Wednesday - three and a half hours of constant cutting. I had designed bulletin board borders and fill for my future daughter in law's classroom. Crissie is a theater teacher so I used tickets as the theme. Most teachers need a word wall - words that apply to their area of study. For part of the border I cut Crissie's theater words in the tickets, backing the tickets in a contrasting color, filling in the negative areas (middle of D, P, O, etc), making the words readable. I also made large, super-sized tickets for Crissie to use a mats for her photos of Broadway shows. There were more cuts, some very detailed and some very simple.
My son was in town for two days and I wanted to send Crissie' bulletin board cuts home with him to save myself a trip to the post office (I hate going to the post office!). To wind up this long tale, I taught Aaron to use my Cricut with Design Studio. I had to cut one page in my design over and over again so I decided Aaron could do this. He did great, and cut the ticket borders while I worked on the word wall tickets.
Aaron left for home a bit later than he planned, but with all of the materials for Crissie's bulletin boards in tow.
After that work out I decided that my Cricut had earned a rest. Actually I intended to cut pieces for a card and use an older set of Close to My Heart stamps, but I started playing with the stamp set and never used the Cricut.
I was using an older fall stamp set. I begin by stamping a solid pumpkin in embossing ink onto textured cardstock. I then used three colors of embossing powders to highlight and define the shape. I used scissors to cut out the stamped image.
I used oval nestabilities and cut out matting for my pumpkin. And at this point I took a serious detour through - play - with - toys - in - a - new - way - land!
I came across a package of shrink film and decided to play with that. Actually at first I wondered if I could stamp on acetate and let it dry. It never dried nicely. So I moved on to shrink film. I stamped the pumpkin shaped word overlay stamp (the same size as the embossed pumpkin) onto the film. I cut out the pumpkin and then used my embossing gun to shrink the film. It looked good, except it needed color.
I stamped the base pumpkin and colored in the shape with orange Copic marker. I then stamped the words over the marker. After shrinking the pumpkin with the heat embossing gun I had created the pumpkin charm on the front of the card!
Basically I spent three hours playing with embossing powders, stamps, acetate, shrink film and ink... And ALL I managed to create was one Thanksgiving card. (Shaking my head at myself) .... I am a bit amused and a bit annoyed with myself. On the other hand, I did have a learning opportunity with the shrink film.
Labels:
Close to my Heart,
Embossing,
Stamping
Vintage Lady - Version Two
Yesterday's vintage lady card turned out so nice that I decided to make a second version. This version is, of course, softer and even more vintage. I stamped the image on textured cardstock for a completely different result - less smooth, more of a vintage feel.
As with the previous card, I used Copic markers to enhance the facial features. I used a light, light pink as a skin tone, red lips, pink blush, lavender-blue eyes with lighter blue shadow. I think there is something almost ghost-like about the image.
Once again I used Spellbinder's label 16 cut both the stamped image and the matting. I decided to pick up the pinks in her skin tone instead of the red lips.
I wanted something different as a background for the matted image. I did not want to use a black base card, as I did for the first version, nor could I find the perfect paper. Then I remembered the special stash of French lace I purchased at last year's stamp show. I had just enough of this fabulous black French lace to create a background panel. I applied liquid glue to the base card in the area that the lace would cover. I applied the lace, then carefully added glue under the scalloped edges.
And finally, one last look at the completed card. So which was your favorite, the vivid red and black version or the softer pink, white and black version?
Vintage Lady Stamp - Card version one
A few weeks ago Kathy (MFK) and I visited the annual stamp show in Columbia, South Carolina. We each made a few purchases (okay, I purchased more), enjoyed some technique demonstrations, and wrapped up our day with a lovely late lunch at Zorba's Greek Restaurant in Irmo.
The image was stamped in black in onto smooth white cardstock. I used Copic markers and color enhanced her lips, eyes, skin tone, eye make-up, and blush. I then cut the image out using Spellbinder's label #16. I cut a matching red matting using the largest label 16.
I did not want to clutter the card with too many embellishments, however I realized that the card needed a more than just the matted lady image. I used a Stampin' Up stamp decorative circle stamp, stamping the image twice. I used a 1.25 inch circle punch to cut out a top layer of the stamp. I hand trimmed the bottom layer, cutting around decorative edges. I used pop dots to raise the center portion of the stamp - and added the sentiment "for you".
I wrapped a length of 3/4 inch ribbon around the card and tied a four loop bow. I topped that with a pretty multi-red hued Prima rose.
I mounted the matted image slight twisted on the card, then attached the tag, and rose. Tomorrow I will return with version two of this lovely stamp. In the meantime if you have not already done so, please leave a comment in the previous post (BBTB2 Blog Hop) to be in the drawing for some fabulous blog candy. I will be drawing a random winner on Thursday.
Winter Wonderland using Spellbinders
I have news to share - I did not make the cut on round two of tryouts for the Spellbinders team. I was disappointed, but I know that their team is highly competitive. The good news is that I may now show my projects with you!
My entry for round one was this 12 x 12 inch layout. I used two colored sheets of cardstock topped with snowflake printed paper. The snowflake print made a lovely, low-key background on which to build the layout elements. The first element I added was a Stampin' Up stamp which reads "Winter Wonderland" stamped on my snowflake print.
I used my Grand Calibur with grand label one to cut the two layer matting and the main photo. I used nesties label one to cut the mats and the smaller photo. I also used snowflakes number one and cut red and blue embellishment snowflakes. The snowflakes were topped with red buttons tied with white embroidery floss.
My page border was created using a Spellbinders lacey border cut four times. I mitered the corners and topped the corners with snowflakes or tags. The WINTER tag at the bottom left was created using label 14 and a stamp. I penned in the date at the bottom of the label.
I will admit that I was a disappointed at not making the cut, but really it was fun to try out. And I was able to get this great photo scrapped!!
Remember that I have blog candy up for grabs in the previous post. A winner will be drawn a Thursday.
Labels:
Bethany,
Ian,
Spellbinders,
Stamping
Sixty Cent Stamp + Spellbinders = Great Valentines
Today I am going to share a quickie Valentine card ... or two! But of course there is a bit of a back story with this card.... I know, isn't there always? A couple of weeks ago the scrappy girlfriends and I spent a lovely weekend at Lake Murray, scrapping, and laughing, and talking weddings... We always schedule a little break for ourselves on the weekend - we visit Michaels and A.C. Moore craft stores on Saturday afternoons. We say that while we do not NEED anything, we might find something we should have. This last trip, four of us purchased new cutters because we all liked Beth's new Fiskar's Deluxe cutter.
We also looked for great bargains, but usable bargains. And this is where the card comes in!
My great find on our last Saturday afternoon outing was in the $1.00 stamp bin at Michaels. All of the $1.00 stamps were 40% off. I found this cute "here's my heart" contemporary stamp, which only cost me sixty cents!! And of course I had to use it that evening, just to show "the girls" that I would indeed use that sixty cent stamp!!
I stamped the sixty cent stamp onto smooth cardstock and cut it out with my circle nesties. I mounted the circle on a Lacey Circle nestie, and mounted that on a double layer matting cut with label 2 (?).
I used many of my leftover scraps to create two Valentine cards - one for each of the grandmoms.
So the next time you are digging through those $1.00 bins at Michaels remember that you really can make some cute, cute projects with inexpensive stamps!!
Labels:
Spellbinders,
Stamping
Kickin' Off Christmas Blog Hop Day 1
Welcome to the Kickin' Off Christmas Blog Hop! You may have arrived here from Penny Duncan blog. This blog hop will feature SP and Company Products and Amy Chomas Products. Both companies off have wonderful and unique crafting tools.
Now that I have finally begun my Christmas shopping I have also begun to think about packaging and wrapping. I love nice packages and bows and tags.... And I love the look of the packages under the tree. This year I thought I could craft a few personalized boxes and bags just to make things a bit more special.
For today's box I used the square box on the Bags, Tags, Boxes, and More cartridge. I cut the box in red cardstock and covered the top and side squares with fun Christmas scrap paper.
Using Stampin' Up Red Riding Hood red ink and SP and Company Christmas tree stamps, I stamped red trees onto smooth white card stock. I used micro tipped scissors and cut out the trees. The trees where then attached to the sides of the box using pop dots.
Next, returning to the Cricut I used the Amy Chomas gel pen holder and the Create a Critter cartridge and wrote the word JOY on red cardstock. I used the Storybook cartridge and cut a tag shape around the work JOY. Using pop dots the red tag was affixed to the top of the box.
I also created a matching gift card to go with the gift box. I cut a white base card and attached a red cardstock square topped with fun Christmas paper to the front of the card. Just as I did for the top of the box, I used CAC and SB to create the red tag for the front of the card. I also popped a stamped tree to the front of the card.
Before you hop on be sure to leave a comment below. Everyone who leaves a comment will be eligible for a Custom Crops gift voucher drawing. Remember that Samantha is also giving away a stamp set. And finally, I will be giving away a copy of my DVD set, It's a Kid's Life - which features 18 layouts, video and pdf instructions along with cut files. I will choose someone from all of the Tuesday and Wednesday comments.
After leaving your comment below, the next stop on the blog hop is the Cards by Linda blog. Enjoy your hop!!!
Christmas Tree Stamped Cards
Today my week of Christmas projects continues with Christmas Tree Stamped cards. The stamp set I used to create these two cards is from Samantha - the Scrapmaster. I met Samantha last summer at CHA and thought she was so nice. When she introduced her own line of stamps I knew I just had to have a set or two. Given the season, I started with this great Christmas tree set.
I should begin by telling you that I am NOT a great stamper. Somehow I manage to get the pressure uneven. I probably should have used a smaller stamp block and stamped the trees one at a time. But no - I was rushing so I stamped all four trees at once using a large stamp block. As you can see I did not apply pressure evenly. Oddly, I still like my images even with their imperfections. It gives them character and make each tree unique.
I used SEI paper and Bazzill cardstock to create the first card. Using Stampin' Up ink, the trees were stamped onto Bazzill cardstock. Each tree was cut out individually and pop dots were applied to the back of the trees. Using SEI Christmas paper and Nestabilities label (9?), a tag/label shape was cut in white on white shiny paper. Silver ink was added around the edges of the label. The trees and their small silver trunks were adhered to the label, and the label was affixed to SEI glitter snowflake cardstock. The card stock was wrapped in white sheer ribbon and trimmed with silver peel offs before being affixed to a white card. The front of the card was finished with the Peace on Earth peel off phrase and a couple of Shapability snowflakes..
I stamped the trees on several different papers and in several different colors to get a feel for how different colors and textures worked together. At a later date (because it is SOOO late as I am finishing this post) I will share with you how pretty these trees look on light pink cardstock with cranberry embossed trees. In the meantime I will share one more variation.
The trees on this card were stamped in Stampin' Up burgundy ink on to a Christmas red and gold print paper. The trees were cut out individually and matted on gold metallic cardstock. Using an SEI Christmas red cardstock, a label shape was cut with my nesties and embossed with a snowflake embossing plate. The trees were pop dotted to the label. The label is matted on a piece of gold and red-ish paper and affixed to an SEI red cardstock card.
The trees and the top edge of the card are embellished with silver and gold angel and star peel offs. Gold Stickles dots were added around the edge of the label shape. And finally I created the bottom accent out of necessity - I could not find a ribbon that looked good on this card. I used Melissa Frances silver trim and a piece of gold rope twisted together to create an unusual lower trim for the card. And while the glittery trim is very different than my usual style, it does capture both the silver and gold accents in the peel offs.
This sentiment on this card is also a peel off phrase. I am so enjoying my peel offs. I am glad that I went a little peel off crazy at CHA.
I will be back tomorrow with something new to share.
Labels:
Christmas Cards,
Nestabilities,
Spellbinders,
Stamping
Merry Chirtmas Card with a Recycled Stamp
Happy Tuesday! Today's Christmas themed project is another Christmas card, but the card has a bit of a twist - a recycled stamped image!
A few weeks ago my scrapping girlfriends took a four day trip to the Edisto Island. Due to work and family conflicts I could not go along (sniff, sniff). According to all reports the girlies had a fabulous time and even manged to squeeze in a a few Christmas cards. Now this is where the story gets a bit blurry... Apparently they tried to make some pop up cards with the word JOY popping up inside. Honestly I am not sure what happened (though I suspect I might have a few clues) and the girlies became silly... REALLY silly.... Somehow in the silliness they decided to send me a backwards card to show me how missed I was!!! I received a red cardstock card with five layers of green, white and red matting. The stamped image above was affixed atop the five matting layers!
I thought my friend Beth did a wonderful job stamping this image so I removed it from the backward card (the sillies ever signed their names backwards) and decided to recycle the stamped section only. Using my long rectangular nestabilities, I cut out the Merry Christmas phrase. I used the matching scalloped long rectangular nestability and cut a red cardstock matting. Using the Just Because Cards cartridge I cut a base card in Bazzill red Swiss dot cardstock. A front layer was added to the card using last year's Little Yellow Bicycle Christmas paper.
The stamped and matted Merry Christmas phrase was affixed to the front of the card, over the ornament print. I added two more ornaments to the background paper using clear stickers which coordinate with the LYB paper set. A felt ornament was added over top of a large printed ornament. Using a candy cane edged red ribbon, a ribbon and bow were added to the front of the card along with thin gold rope as an accent.
A final embellishment - the cream snow flake - was added to the front of the card, over the largest ornament and the edge of the Merry Christmas message.
I know that it may seem a bit odd to recycle the front of a card, but I really like the stamped image AND I wanted to surprise the silly girls with this card!!!
Thanks of stopping by today. I will be back tomorrow with another project for my Christmas themed week!
Labels:
Christmas Card,
Nestabilities,
Stamping
Still Living in the Christmas zone
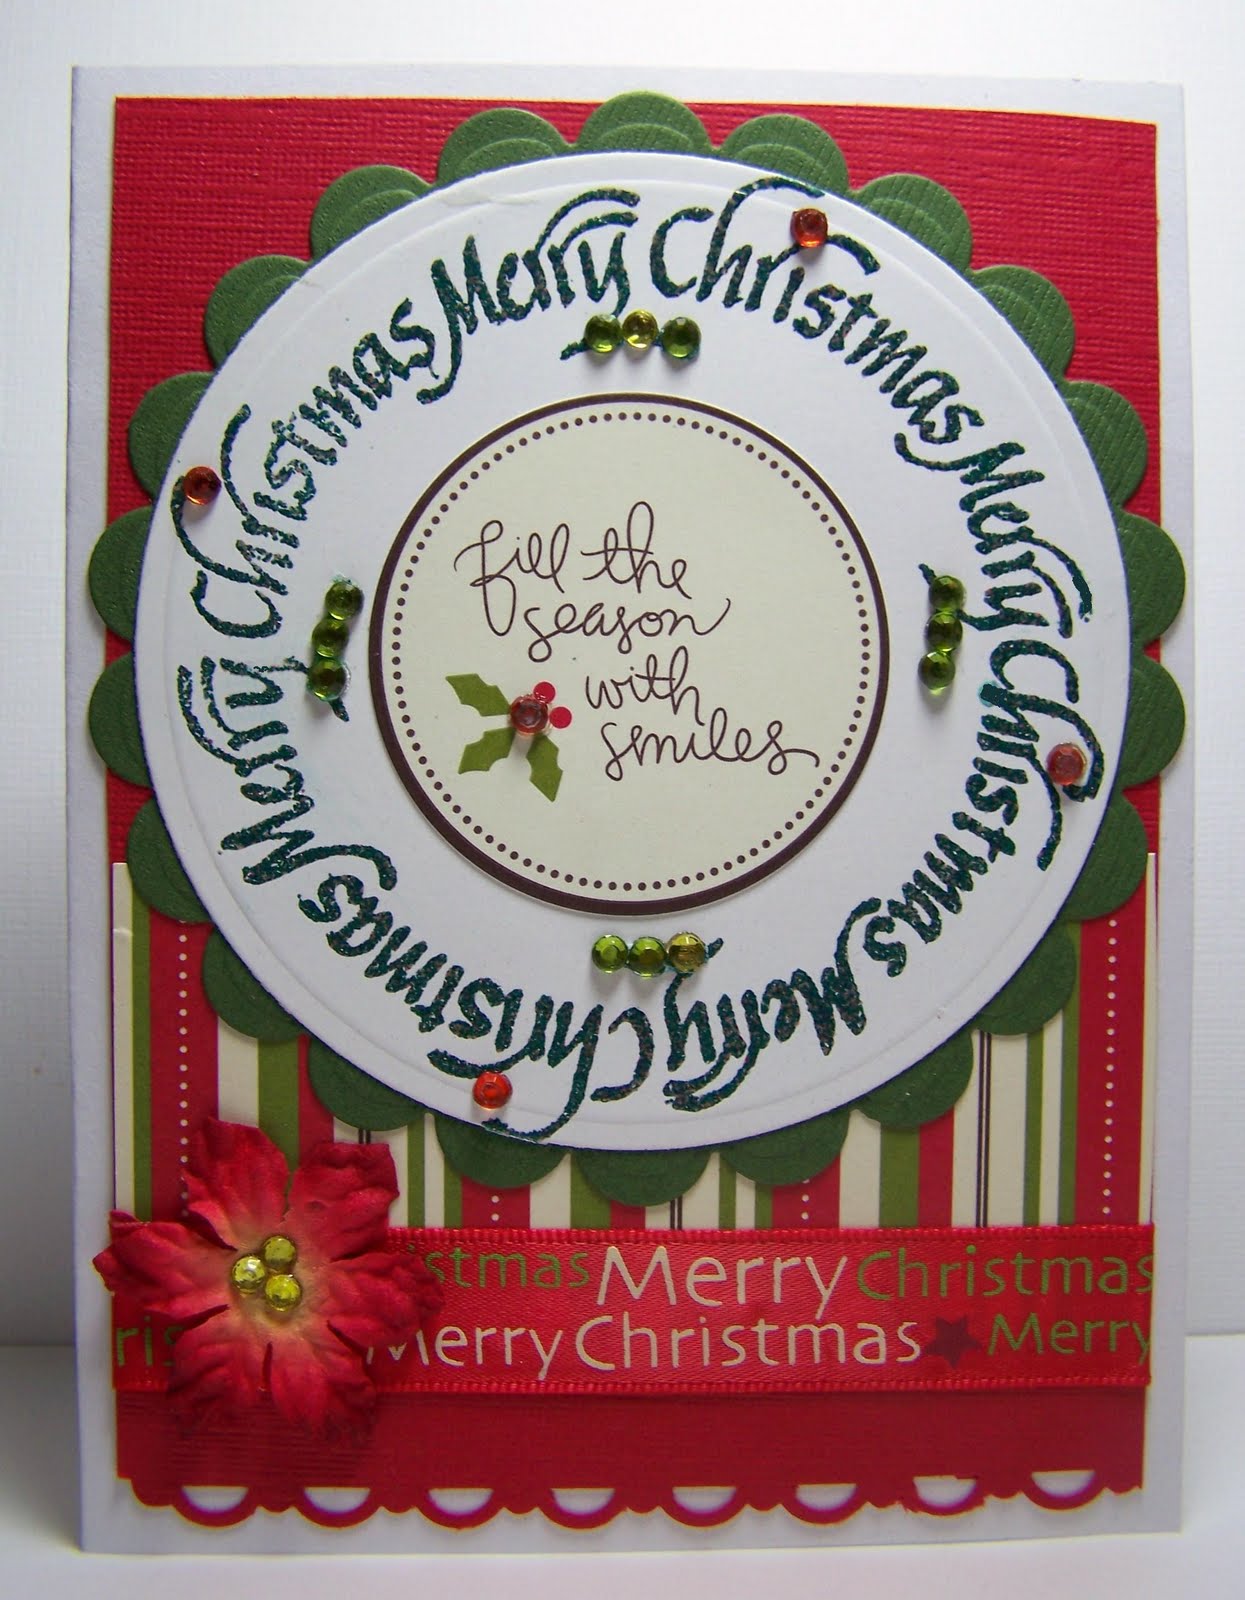
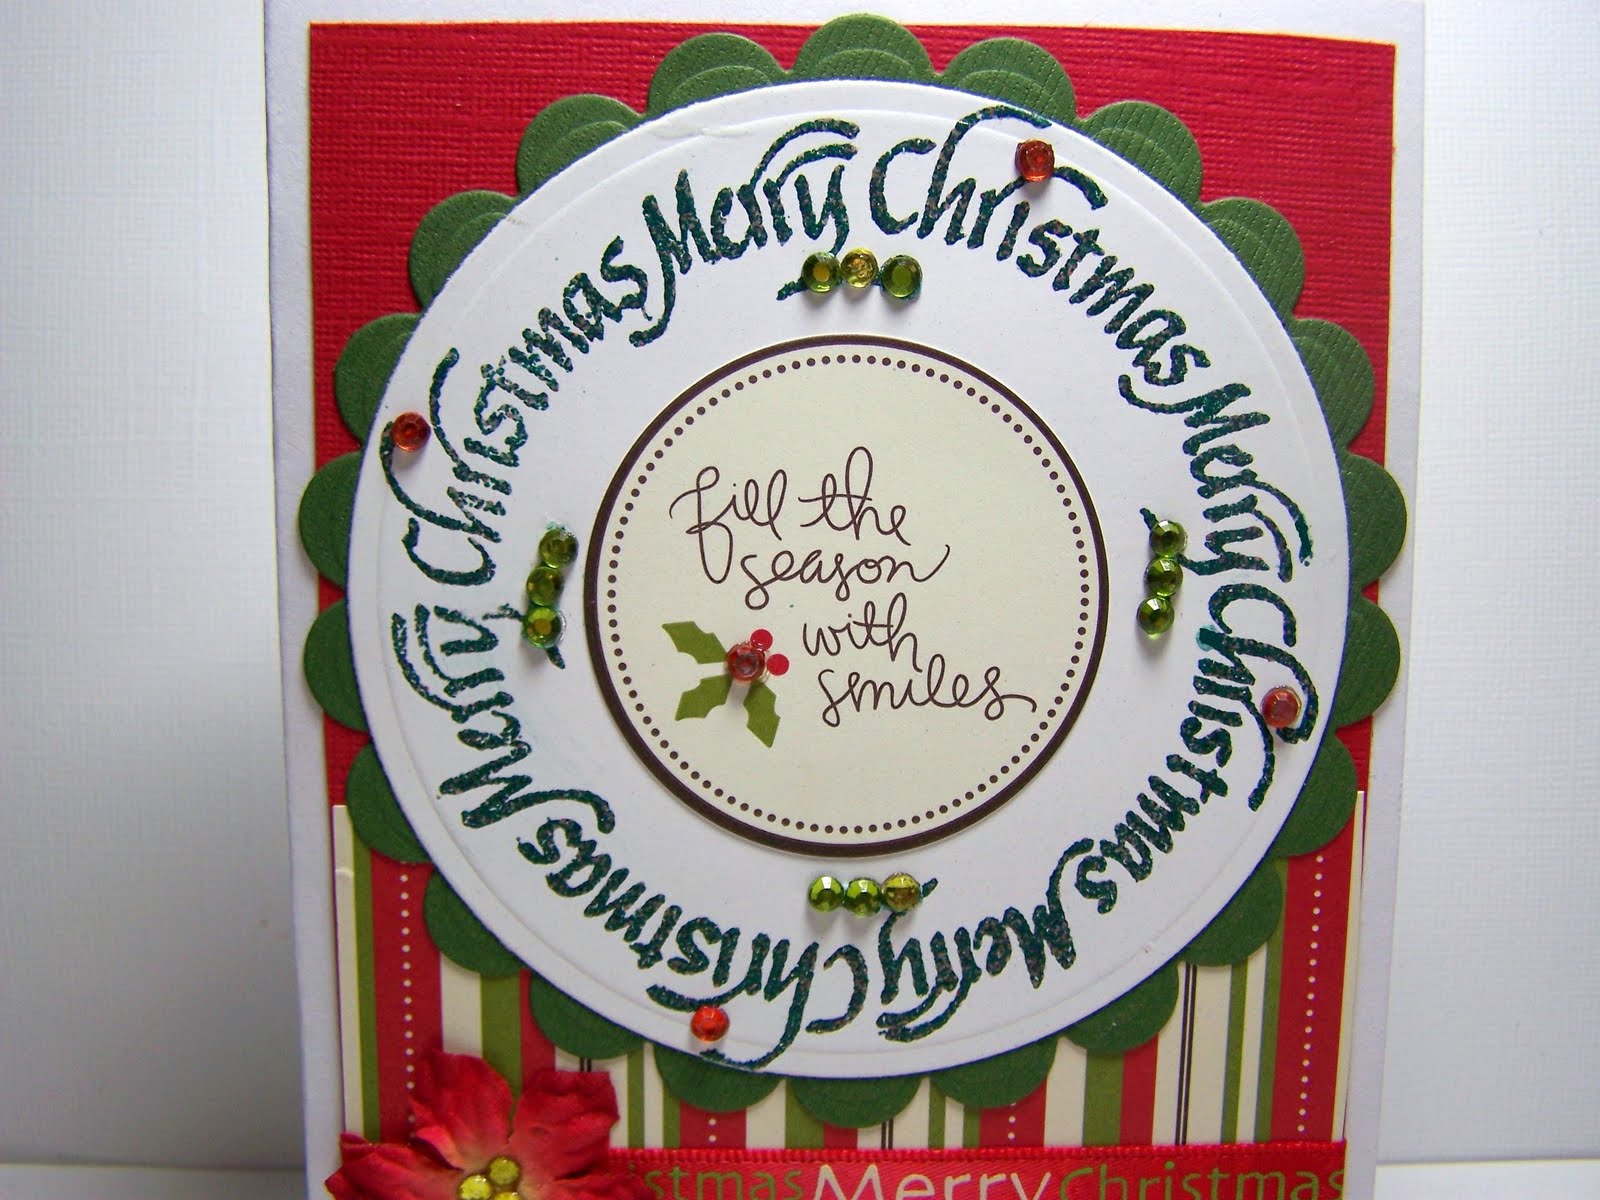
It is not even officially fall and I have been living in the Christmas zone for a couple of weeks now. I promise that I have not skipped Halloween or Thanksgiving - I am just obsessively trying to finish my Christmas cards. Using the same design I previously used to make "flat" card, I changed the middle design.
I used one of my favorite Christmas stamps, the circular Merry Christmas and added a cardstock sticker to the center. I stamped the image in embossing ink then added green embossing powder before heat embossing the design. I then cut the stamped image out using the circle nesties and matted it on the scalloped circle nestie. I also used one of my favorite new toys, the I-Rock tool and added red, yellow, and green gems to the embossed design and the flowers.
I finished the card with Merry Christmas ribbon, a Stampin' Up border stamp and silk poinsettias! I am currently all caught up on Christmas cards and feeling good about moving on to other projects.... Like the Yudu!!! Coming soon - napkin assortments!!!
Labels:
Christmas Cards,
Stamping
Celebrate with Flourish Scarecrow
Here in SC our weather finally cooled down a bit - the temperature finally dropped below ninety degrees and the humidity has also decreased. This is what is called early fall in the south. At this time of year I miss Michigan.... I liked the change of colors, Indian Summer, apple cider being made at the orchard.... Big sigh.... My Michigan State Spartans were playing in 60 degree weather on Saturday... I had quite the longing for "real fall." To help me through my "real fall." longings, I decided to make a fall-esque card.
I used the scare crow from Cricut's Celebrate with Flourish Lite cartridge. I did enhance the layers a bit with Copic markers - he was designed to be more of a silhouette, but I wanted more detail. I cut some beige fringe and used that as hay. His face was created using a circle punch for the face and small Peachy Keen stamps for the features. I cut a matting out using my nesties - I think this is label nine, but don't quote me on that.
I used a circle punch and a scalloped circle punch to create the pumpkin circle embellishment. The pumpkin is from one of the background papers.
I have two sets of small fall and Halloween stamps that I really like. I stamped a large greeting inside the card and I used the smaller pumpkin patch phrase stamp to embellish the corners of the card. In the end I had fun making the card, but the desire for fall is still there. And before any of you remind me, I am honest enough to admit that come January I will perfectly happy to live in SC. We get all of two or three weeks of winter.... So really the trade off is not bad.
Subscribe to:
Posts (Atom)